

Summary: This is a step by step guide for those ABAP consultants who want to try their hand at Web Dynpro ABAP. By following these 5 easy steps anyone who has knowledge of ABAP can create their first fully functioning Web Dynpro ABAP Application which fetches data from an SAP back-end system. This example Web Dynpro Applications displays the personal information of an employee whose personal number (PERNR) is provided.
Step 1. Create Web Dynpro Component
- Go to Transaction SE80, choose Web-Dynpro-Comp./Intf in the object list and provide a new name (Y_FIRST_WEBDYNPRO) and click on Display.

- Confirm you want to create the object by clicking on Yes.

- Enter the description and choose the Type radio button as Web Dynpro Component.

Step 2: Component Controller
- Go to Component Controller and Right click on the CONTEXT, select Create and then select Node.
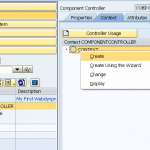
Web dynpro ABAP 4 – Click To See Larger Image
- Provide a Node Name as PA0002 and Dictionary Structure as PA0002 and then select Add Attribute from Structure.
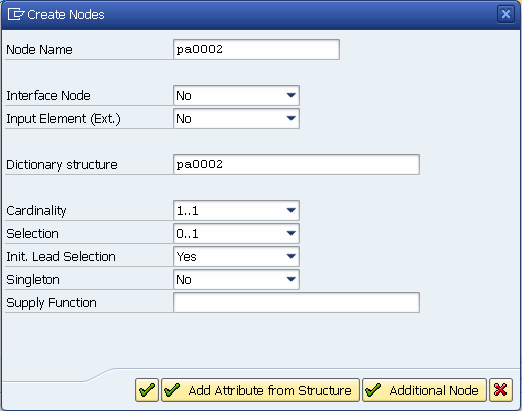
- Select the following attributes from the PA0002 structure.

This is how the context should look like after you have completed Step 2.3.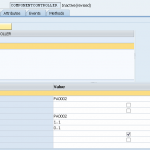
Web Dynpro ABAP 7 – Click To See A Larger Image


Step 3: Designing the View Layout
- Click on MAIN View.
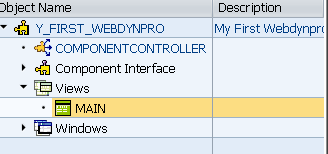
- Go to the Context in the view and then drag and drop the PA0002 node which appears in Right side (Component Controller) of the View.
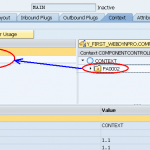
Web dynpro ABAP 9 – Click For Larger Image
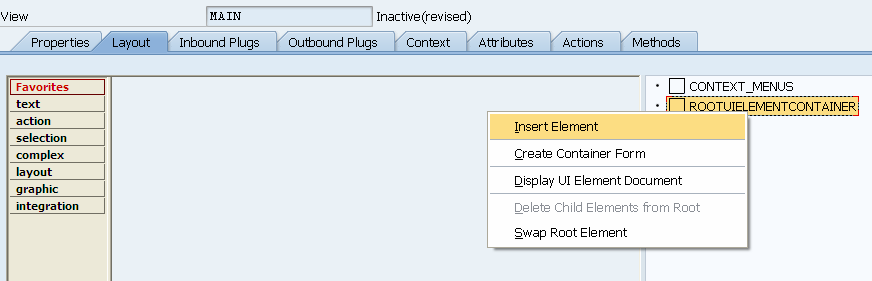
- Now, go to the Layout Tab in View and right click the ROOTUIELEMENTCONTAINER and then choose Insert element.
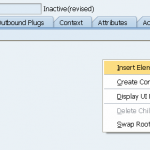
Web dynpro ABAP 10 – Click To See Larger Image
- Provide ID and select type as Label.
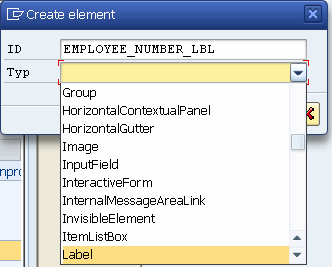
- Again right click the ROOTUIELEMENTCONTAINER and then choose Insert element. Select InputField UI element this time.
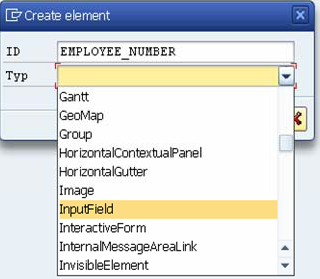
- Now select the EMPLOYEE_NUMBER_LBL and provide the Text property as Employee Number in the Property Editor.

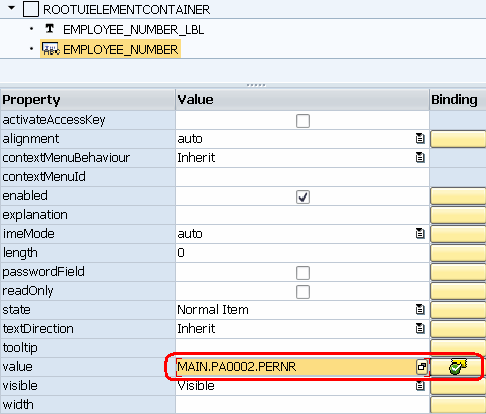
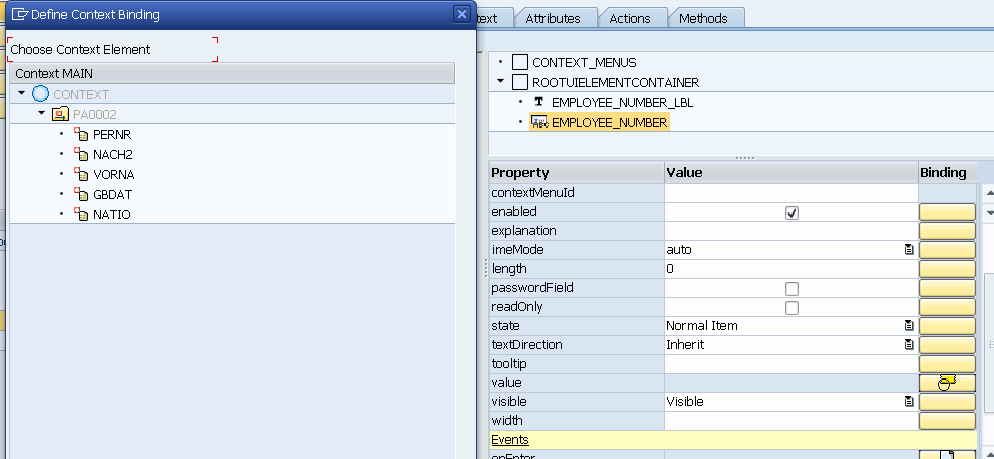
- Now, we will bind the Value property of the InputField UI element to the context. This is done by clicking on the selected area and then selecting the context attribute PERNR.
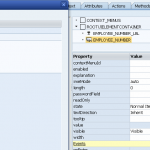
Web dynpro ABAP 14 – Click for A Larger Image
- This is how the value property will look after binding it with the required Context Attribute.
- Insert a Button UI element which will be used to fetch the data from the back-end. Bind the event property of the UI element with action SHOW_DETAILS.

- Similarly, insert a Label and TextView UI elements for First Name, Last Name, Date of Birth and Nationality Output Fields.
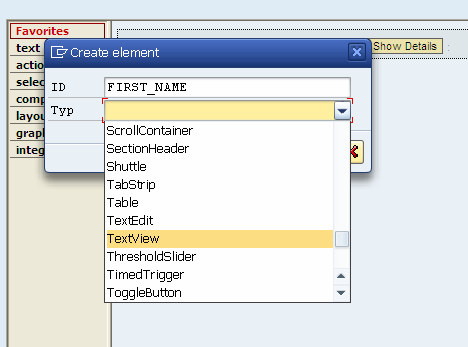
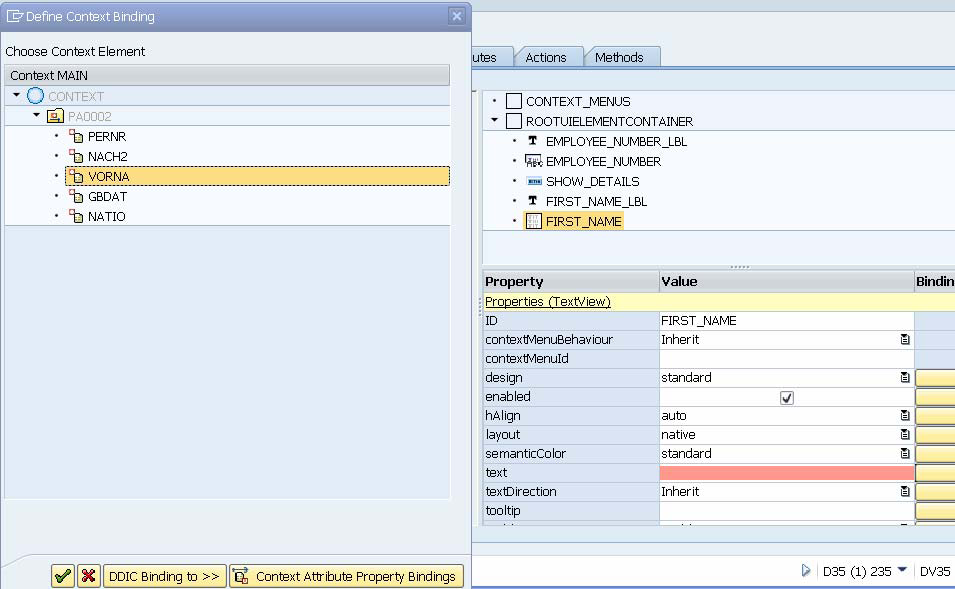
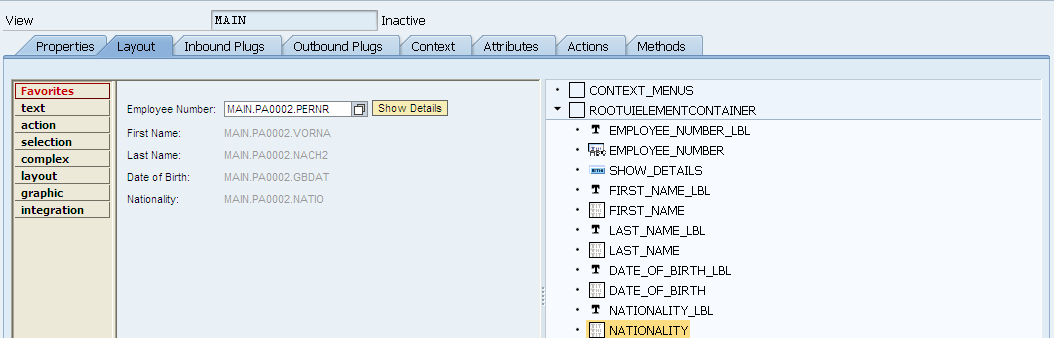
- This is how the ROOTELEMENTCONTAINER should look after all the required UI elements are inserted.

Step 4: Adding ABAP Code
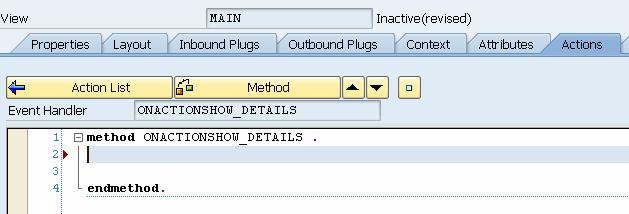
- Now we will insert Code to the actions that were created in Step 3. Here, we will fetch data from back-end for the employee number entered by the user. Click on the Actions Tab of the View.

- Double click on SHOW_DETAILS Action
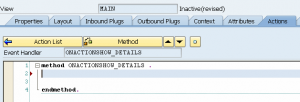
- Below is a screenshot of the ABAP Code that goes between method and endmethod.


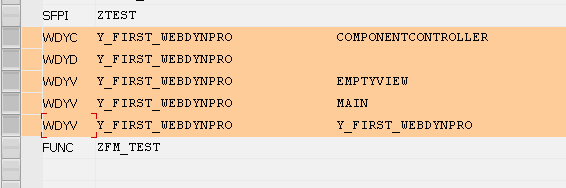
- Click on Save and Activate all the inactive objects created in this tutorial.

Step 5: Creating Web Dynpro Application
- Create Web Dynpro Application by right clicking the Web Dynpro.

- Give your application a name and description.

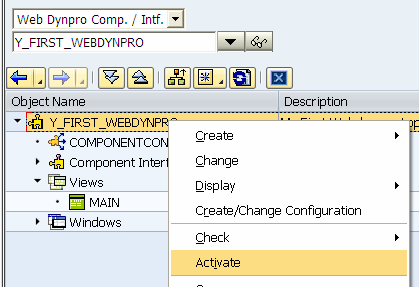
- Right click on the Web Dynpro component and activate it.
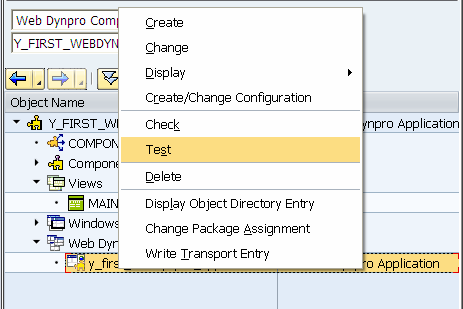
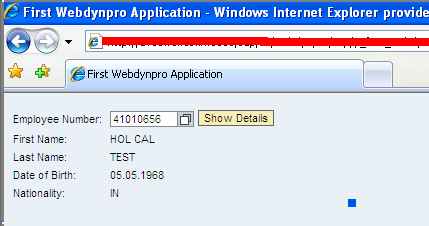
- Output : Right click on the application and select Test to run your application.
Output In The Web Browser
Update: A follow on article is now available here: How To Use Inbound And Outbound Plugs In SAP Web Dynpro ABAP Programs